You may not be aware of this cool feature in Frames 6, but the media library includes clip art that animates when you move it along a path on a single frame! You can also use the drawing tools to create your own animated clip art to use in Frames!
You can see several examples in this Frames Halloween eCard.
Use the Animated Clip Art in Frames 6
To use the new animated clip art in Frames, click the Library button, click the search field at the bottom of the Library panel and search “buzzing.”
Editor’s Note: If you know how to do this scroll down to the make your own animated clip art section!
Drag the Buzzing Bee art to your frame. If you click the Play button on the toolbar, you will see the bee buzz in place, although you may need to increase the duration of the frame.
You can also have this animated clip art move across the frame without having to work frame-by-frame. Click the Tools button and check the box for Animate on the Tools panel.
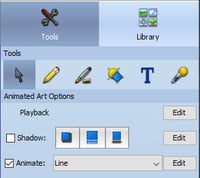
You will see a red arrow near your bee. Drag it in the direction and distance you want to bee to travel.
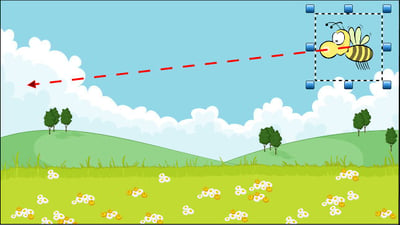
Change the duration of the Frame to change how long it takes for the bee to fly from one end to the other. Click the Play button to preview your work.
Make Your Own Animated Clip Art in Frames
You can do more than add animated clip art from the Library, you can make your own!
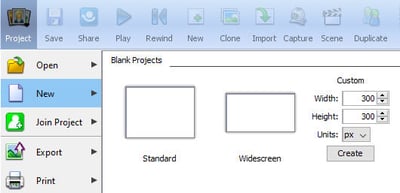
When you launch Frames, start by changing the size of your canvas, so that your animation is an appropriate size. Click the Project button on the toolbar, choose New and adjust the Custom size options to something smaller than a normal animation canvas and click the Create button.
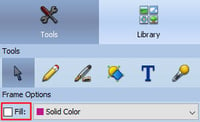
At the Tools panel, make sure the frame Fill is not selected.
Use the drawing tools to design the object or character you want to animate. Be sure the parts of the character you want to move during animation are separate pieces so you can change their position.
![]() Click the Clone button on the toolbar to make a second copy of the frame.
Click the Clone button on the toolbar to make a second copy of the frame.
 Click the Onion Skin check box on the Tools panel so that you can see the art from both frames at the same time.
Move the part of the image you want to animate so that it is in a different position between frames.
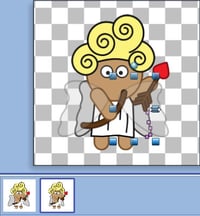
Repeat this process to create all of the frames of your animated snippet.
Adjust the duration of each frame to choose how fast it will animate in Frames.

When you are ready to export, go to the File menu and choose Export Animated Clip Art.
Name the file and choose a place to save it.
When you want to add it to a frames animation, click the Folder icon on the Library panel, navigate to your animation, and add it to a new Frames animation!
Use the Path animation options to set a path. If you click the Path Edit button, you can even have the animated clip art change size along the path!
Have fun creating your own animations!
Editor’s Note: if you search the Library for Cupid flying you can add the 2-frame flying cupid shown above to your animation.


