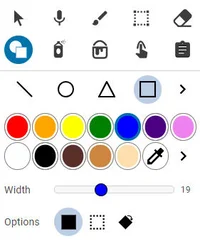
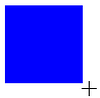
Drag across the page to draw a square.
Paint a solid square
*Note: Press and hold down the Shift key on the keyboard to draw a square. If you are using a tablet, you can't constrain the shape with the Shift key. Simply do your best to draw a square instead of a rectangle.
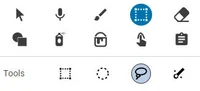
Choose the Selection tool on the tool palette and select the Lasso option.
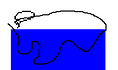
Drag the lasso to select a shape from the top of the square by starting at the vertex on the top left, selecting a wavy line through the shape, exiting through the vertex on the top right, and then returning to the starting point.
Select the Rotate to the right 90 degrees option below the tools.
Move the cursor over the middle of the selection. Drag the selection so that the straight edges touch on the left side of the square and line it up so there is no space between them. Click the page away from the shape.
Repeat the same process to select an area from the bottom of the square. Drag the lasso to select a shape from the bottom of the square by starting at the vertex on the bottom left, selecting a wavy line through the shape, exiting through the vertex on the bottom right, and returning to the starting point.
Select the Rotate to the right 90 degrees option below the tools.
Move the cursor over the middle of the selection. Drag the selection so that the straight edges touch on the right side of the square and line it up so there is no space between them. Click the page away from the shape.
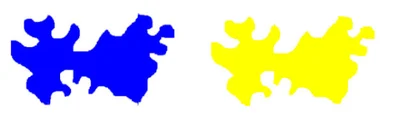
Use the Lasso selection tool to select this shape.
Go to the Edit button and choose Duplicate.
Move over the middle of this duplicate and drag to the side. Use the Paint Bucket tool to fill it with a different color.
Use the Lasso selection tool to select one of the shapes. Select the Rotate to the right 90 degrees option below the tools.
You should now have two shapes of different colors and orientations, but you should be able to see how they are going to fit together.
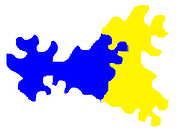
Before you begin tessellating, select one of the shapes with the Lasso selection tool. Go to the Edit menu and choose Convert to Sticker. Repeat to convert the other painted shape to a sticker as well.
Line up the two shapes so there are no gaps in between them.
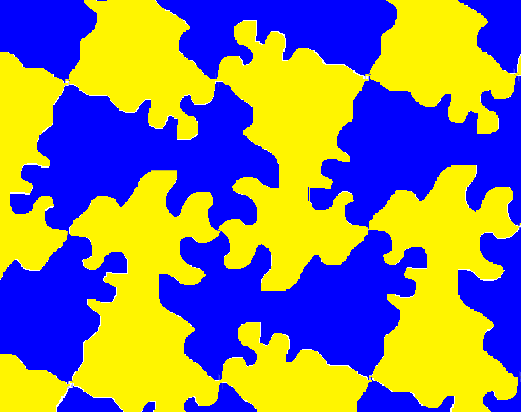
Continue selecting, duplicating and moving the shapes to create a tessellation.
Once you create a new row of shapes, you will need to select shapes and use the Rotate buttons to get them to fit together for a tessellation.
Print your tessellation or export it as an image to share online.
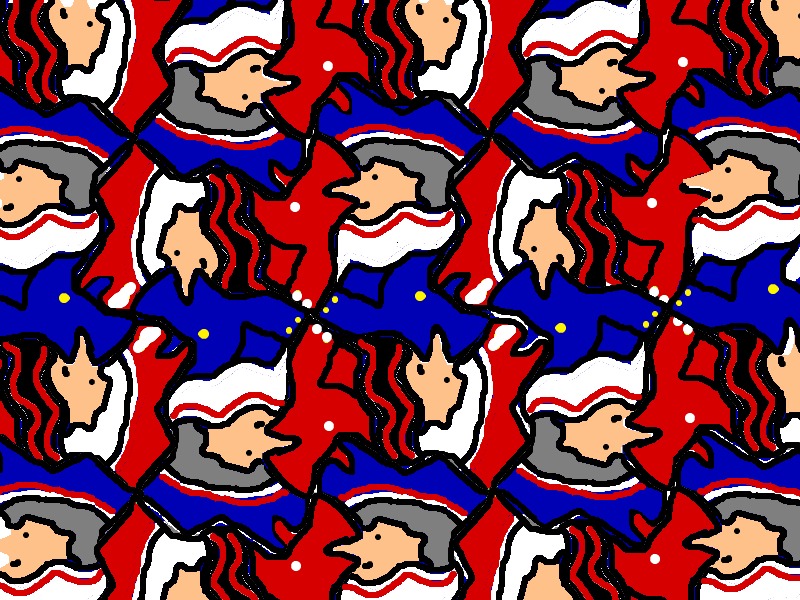
Expert Tip:
Before you convert the shapes to stickers, you can also use the paint tools to add details to each shape to transform it into a more obviously recognizable object. Then, convert to a sticker, duplicate, and tessellate!